
How to Make Soy Candles at Home
Using Essential Oils and Repurposed Containers to Create a Cozy, Natural Space
This post contains affiliate links for products I use in my home. I may earn a small commission if you shop through these links, at no extra cost to you.
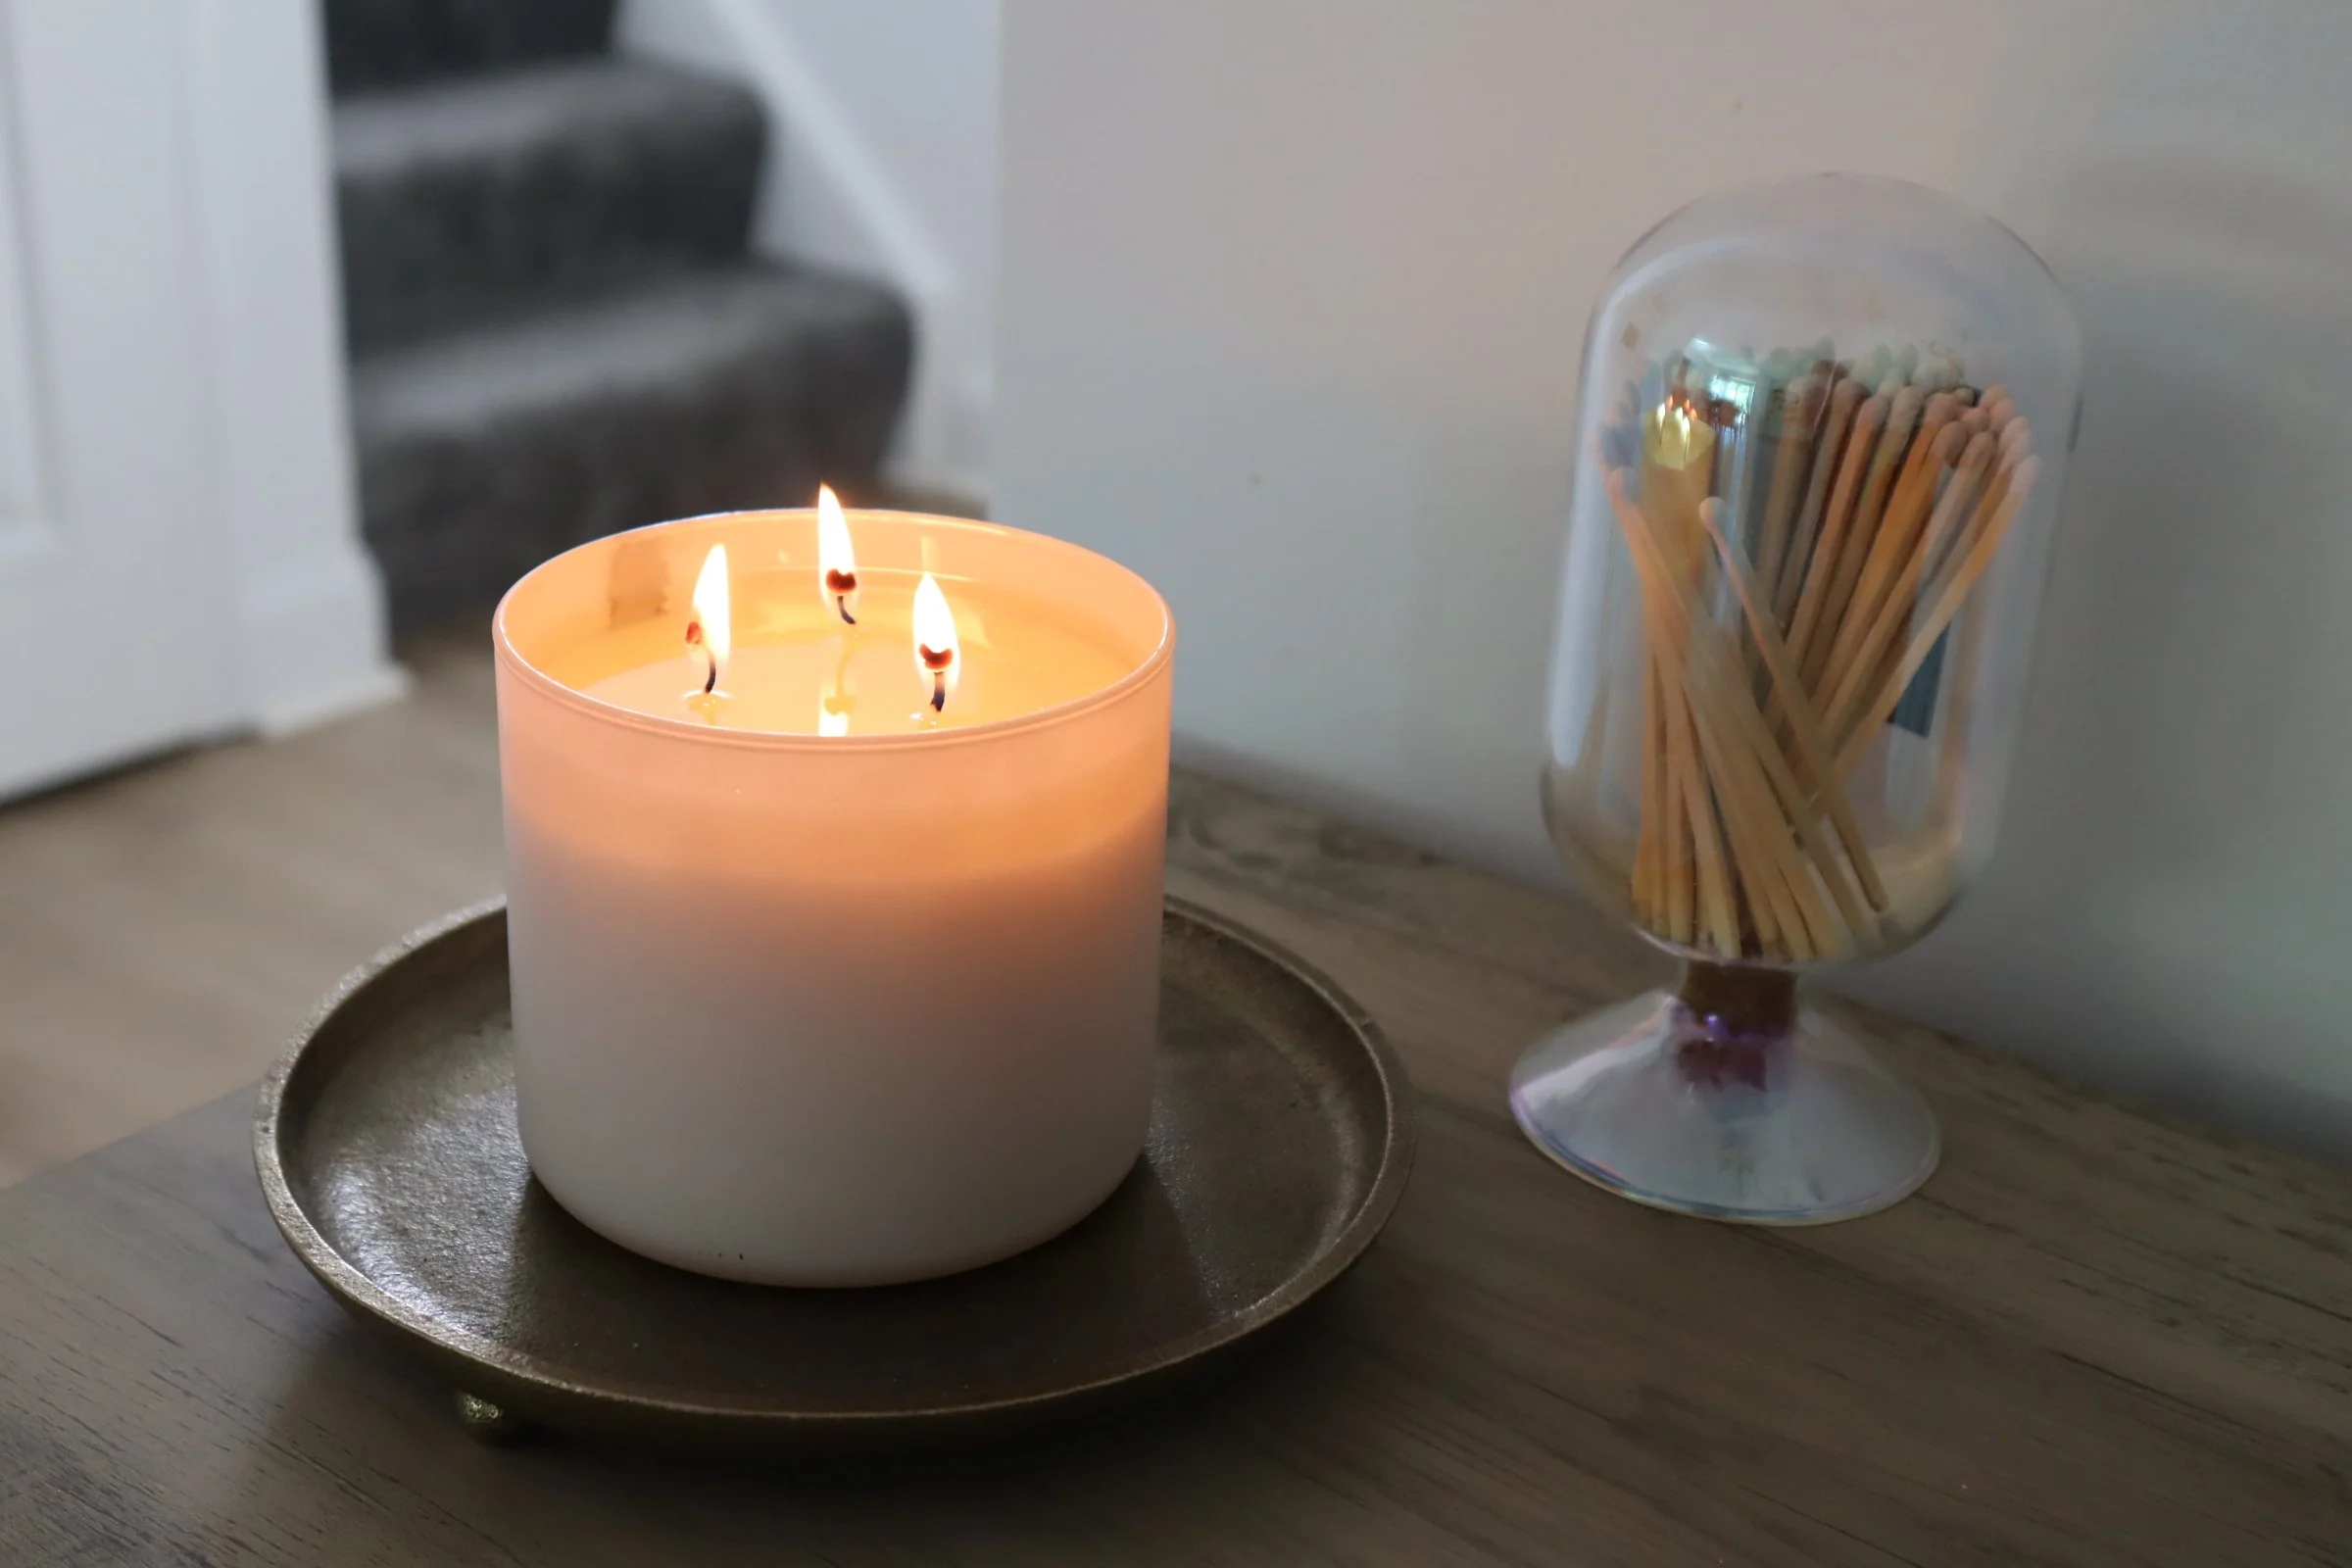
Hand-poured and officially glowing. It smells sooo good.
There’s nothing like the soft glow of a candle at the end of a long day. It creates instant calm—whether you’re winding down for the night or getting the house ready for guests. The gentle light and subtle scent bring a cozy, welcoming feel that makes a space feel more like home. And the best part? You can make your own. There’s something so satisfying about crafting a candle that smells sooo good you can’t stop sniffing it. And when that warmth and scent fill the room just right—it’s the kind of moment that makes you pause and smile.
Candles don’t just bring warmth and fragrance—they can also bring in personality. I love using containers that already have meaning, like an old favorite candle jar or a thrifted mug. It’s a small way to make your home feel more personal and intentional, one cozy flicker at a time.
In this post, I’ll show you how to make your own soy candles, why soy wax is my go-to, and how to use essential oils (instead of synthetic fragrance oils) to keep things wholesome and healthy.
Why Make Your Own Soy Candles?
There are plenty of reasons to try your hand at candle-making, but here are my top few:
1. It’s cleaner and safer for your home.
Soy wax is made from soybeans, which means it’s renewable and natural. It burns much cleaner than paraffin, which is a petroleum byproduct that can release toxins when burned. With soy wax and essential oils, you’re avoiding unnecessary chemicals in your space.
2. You control everything that goes into it.
You get to choose the scent, the look, the container, the wax, and even the wick. You don’t have to settle for overwhelming fragrances or colors that don’t match your style. Everything can be customized to your preferences and your home.
3. It’s a meaningful, creative ritual.
There’s something calming about the process of melting, blending, and pouring. It’s slow and intentional, and the result is something that brings beauty and comfort to your space. It’s also a beautiful gift idea for friends and family.
4. It’s eco-friendly and cost-effective.
Repurposing old jars, containers, or mugs keeps items out of landfills and helps reduce waste. And once you have your basic tools, making candles is much more affordable than constantly buying new ones.
Shop my favorite soy wax below! (affliate link)
The Role of Essential Oils
When I started making candles, I knew I didn’t want to use synthetic fragrance oils. While they come in endless varieties, many of them contain artificial chemicals, hormone disruptors, and phthalates—all of which I try to avoid in my home.
Essential oils are naturally derived from plants and flowers. They offer real aromatherapy benefits, and the scent is much gentler and cleaner than synthetic perfumes. They may not fill a room as aggressively as some commercial candles do, but for me, that’s part of the appeal—they bring a subtle peace instead of overpowering the space.
And perhaps the best part: essential oils can support how you feel. They can calm, energize, uplift, purify, or simply make a room feel fresh and clean.
What You’ll Need
Here’s what is needed when making candles. You can keep it simple and work mostly with items you already have on hand:
Soy wax flakes
Essential oils
Cotton wick
Wick stickers or hot glue
Heat-safe container (mason jar, old candle jar, ceramic mug, etc.)
Pouring pitcher (or glass measuring cup set in a pan of simmering water)
Skewer or pencil (to hold the wick in place)
Thermometer (optional, but helpful for consistency)
I personally used a small Amazon candle-making kit that came with soy wax, wicks, wick stickers, and a stainless-steel pourer. It’s been handy, especially as I’m still experimenting with new blends.
Shop the set I use below! (affliate link)
For the container, I repurposed one of my old candle jars. It had a simple shape I loved and cleaned up beautifully after the original candle was gone. You can use nearly anything heat-safe—and choosing a container with meaning makes the final product even more special.
How to Make a Soy Candle – Step by Step
Step 1: Prepare Your Container
Clean and dry your jar or container. Stick the wick to the bottom using a wick sticker or a dab of hot glue. If you don’t have a wick holder, place a pencil or skewer across the top of the container and wrap the wick around it to hold it in place.
Step 2: Melt the Wax
Add soy wax flakes to your pouring vessel (either a stainless pitcher or glass measuring cup). Place it in a pot with a few inches of simmering water (double boiler style) and stir gently until the wax is completely melted.
Step 3: Let It Cool Slightly, Then Add Essential Oils
After melting, let the wax cool to about 130–140°F before adding essential oils. This keeps the oils from burning off and helps the scent last. For an 8 oz candle, you’ll want around 40–50 drops total, but you can adjust based on how strong you’d like it.
Step 4: Pour the Wax
Carefully pour the scented wax into your container. Be slow and steady so the wick stays centered. Leave about ½ inch of space at the top. Make sure your wick is still upright and centered as it begins to set.
Step 5: Let It Set and Cure
Let the candle sit undisturbed at room temperature for 24–48 hours. For the best scent throw, allow it to cure for up to a week. Don’t move it while it’s setting—just let it do its thing.
Step 6: Trim the Wick
Once fully set, trim the wick to about ¼ inch. It’s ready to light and enjoy.
Tips for Success
Test different combinations of oils and containers to find your favorite.
Wider containers often give off more scent than narrow ones.
Blend thoughtfully: Citrus oils like lemon and orange fade quickly, but pairing them with base oils like cedarwood, frankincense, or patchouli helps the scent last.
Repurpose with purpose: Old jars, mugs, or teacups make beautiful and meaningful vessels for homemade candles.
Essential Oil Blend Ideas
Here are a few blend ideas to try for your home:
For Relaxing Evenings
Lavender + Vanilla + Chamomile
Rose + Sandalwood + Frankincense
For Fresh, Clean Mornings
Fresh Cut Grass + Lily + Lavender
Orchid + Primrose + Peony
For Seasonal Vibes
Peony + Honeysuckle + Vanilla (Spring/Summer)
Frankincense + Vanilla + Sandalwood (Fall/Winter)
For a recent living room candle, I used a blend of:
Frankincense – deep and resinous, grounding
Sandalwood – smooth and woodsy, comforting
Orchid – soft and lightly floral, just enough to brighten the heavier notes
This combination smells rich and calming, with a spa-like, elegant feel. It doesn’t overpower the room but subtly fills it with warmth and peace. It’s become my go-to candle for reading in the evenings or when we have guests over.
I used about:
15 drops Frankincense
15 drops Sandalwood
15–20 drops Orchid
I added these to the wax after it had cooled slightly and stirred gently to combine.
You can mix and match based on what you love and what you have on hand. Don’t be afraid to test small batches and discover what makes your space feel most like home.
Final Thoughts
Making candles has become one of my favorite home projects. It’s creative, simple, and leaves you with something truly useful and beautiful. Whether you’re crafting a calming blend for yourself, a signature scent for your home, or a thoughtful gift for a friend, soy candles made with essential oils offer a healthier, more meaningful way to enjoy candlelight.
If you’re new to this, start with just one candle in a small jar. Use what you have. See what scents bring you comfort or clarity. And let the process be part of the peace.
By Leah Ann Grace