
Growing Black Beans from Start to Finish: A Complete Guide
Black beans are a versatile, nutritious, and delicious legume that can easily become a staple in your garden. Whether you’re a beginner gardener or an experienced grower, cultivating black beans is both rewarding and surprisingly simple. In this guide, we’ll walk through every stage of growing black beans—from selecting seeds to harvesting and storing them. By the end, you’ll have everything you need to grow your own crop of these beautiful, glossy legumes.
Why Grow Black Beans?
Black beans aren’t just tasty—they’re packed with protein, fiber, and essential nutrients like iron and magnesium. They’re also excellent for crop rotation because, as legumes, they naturally fix nitrogen in the soil, enriching it for future plantings. Growing your own black beans allows you to control the quality, avoid preservatives, and enjoy fresh beans straight from your garden.
Choosing the Right Variety
Before planting, it’s essential to select the right black bean variety for your climate and garden space. Some popular options include:
Black Turtle Beans: The most common variety, known for its shiny black skin and robust flavor.
Black Valentine: Slightly larger beans, excellent for soups and stews.
Jet Black Beans: A prolific variety with high yields.
Consider your growing season length and climate. Black beans thrive in warm conditions and need a frost-free period of at least 90–100 days.
Preparing Your Soil
Black beans grow best in well-drained, fertile soil with a pH between 6.0 and 7.5. Before planting:
Choose a sunny spot: Black beans require at least 6–8 hours of sunlight per day.
Loosen the soil: Work the soil to a depth of 8–12 inches to encourage root development.
Add compost: Incorporate organic matter to improve fertility and soil texture.
Avoid high nitrogen fertilizers: Beans fix their own nitrogen. Too much nitrogen can lead to lush foliage but poor bean production.
If your soil is heavy clay, consider raised beds or containers to improve drainage.
Planting Black Beans
Black beans can be planted directly outdoors after the last frost when the soil has warmed to at least 60°F (16°C). Here’s how to get started:
Soak seeds (optional): Soaking black bean seeds for 6–8 hours can speed up germination.
Plant depth: Sow seeds 1–1.5 inches deep.
Spacing: Space seeds 3–4 inches apart in rows that are 18–24 inches apart.
Watering: Water gently after planting to settle the soil. Keep soil consistently moist but not waterlogged during germination.
Beans are sensitive to transplanting, so it’s best to sow them directly in the garden.
Caring for Black Beans
Once your black beans sprout, proper care is crucial for healthy growth.
Watering
Black beans prefer consistent moisture, especially during flowering and pod formation. Aim for about 1 inch of water per week. Avoid overhead watering to reduce the risk of fungal diseases; instead, water at the base of the plants.
Mulching
Applying a layer of organic mulch around your plants helps retain soil moisture, suppress weeds, and maintain even soil temperatures.
Supporting the Plants
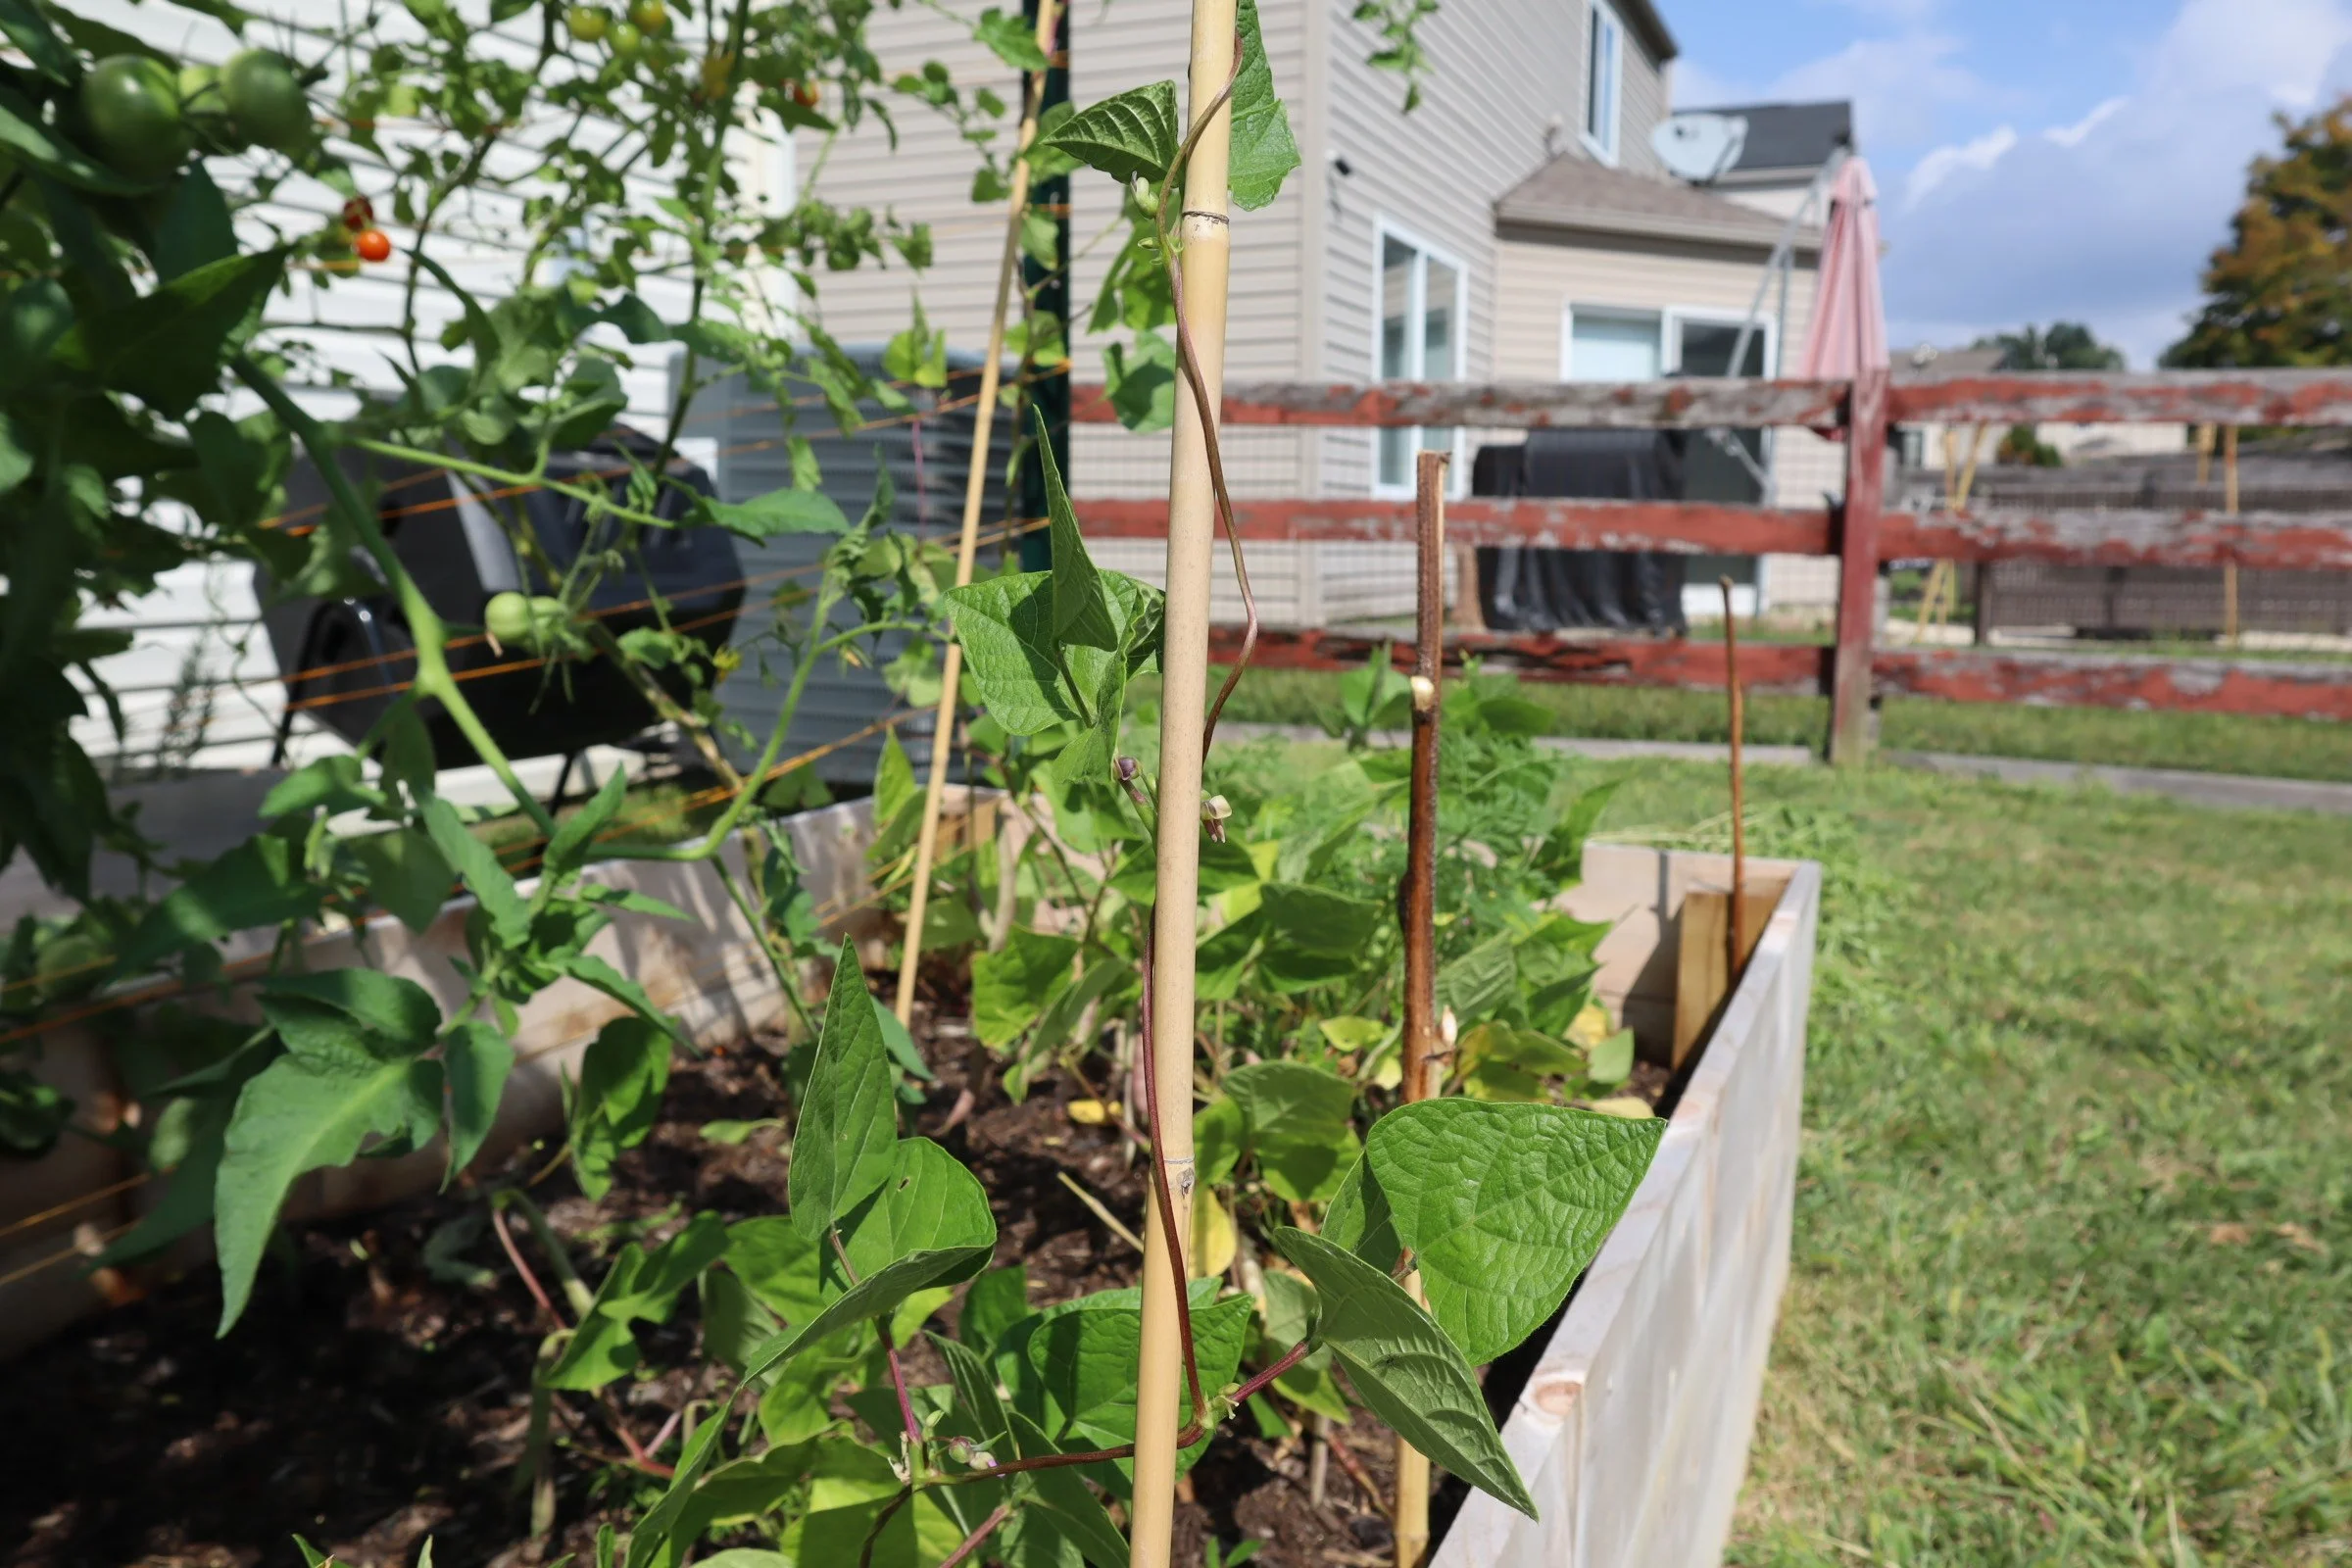
Some black bean varieties grow as bush types, which are self-supporting, while others are vining types that may need trellises or poles for support. Check your seed packet to know what type you have.
Fertilization
Since beans fix nitrogen naturally, fertilization should focus on phosphorus and potassium if needed. A light side-dressing of compost mid-season can boost yields without over-fertilizing.
Pest and Disease Management
Common pests include aphids, Mexican bean beetles, and spider mites. Encourage beneficial insects and consider row covers for protection. For diseases like root rot or leaf blight, ensure proper spacing for air circulation and avoid wetting foliage during watering.
Flowering and Pollination
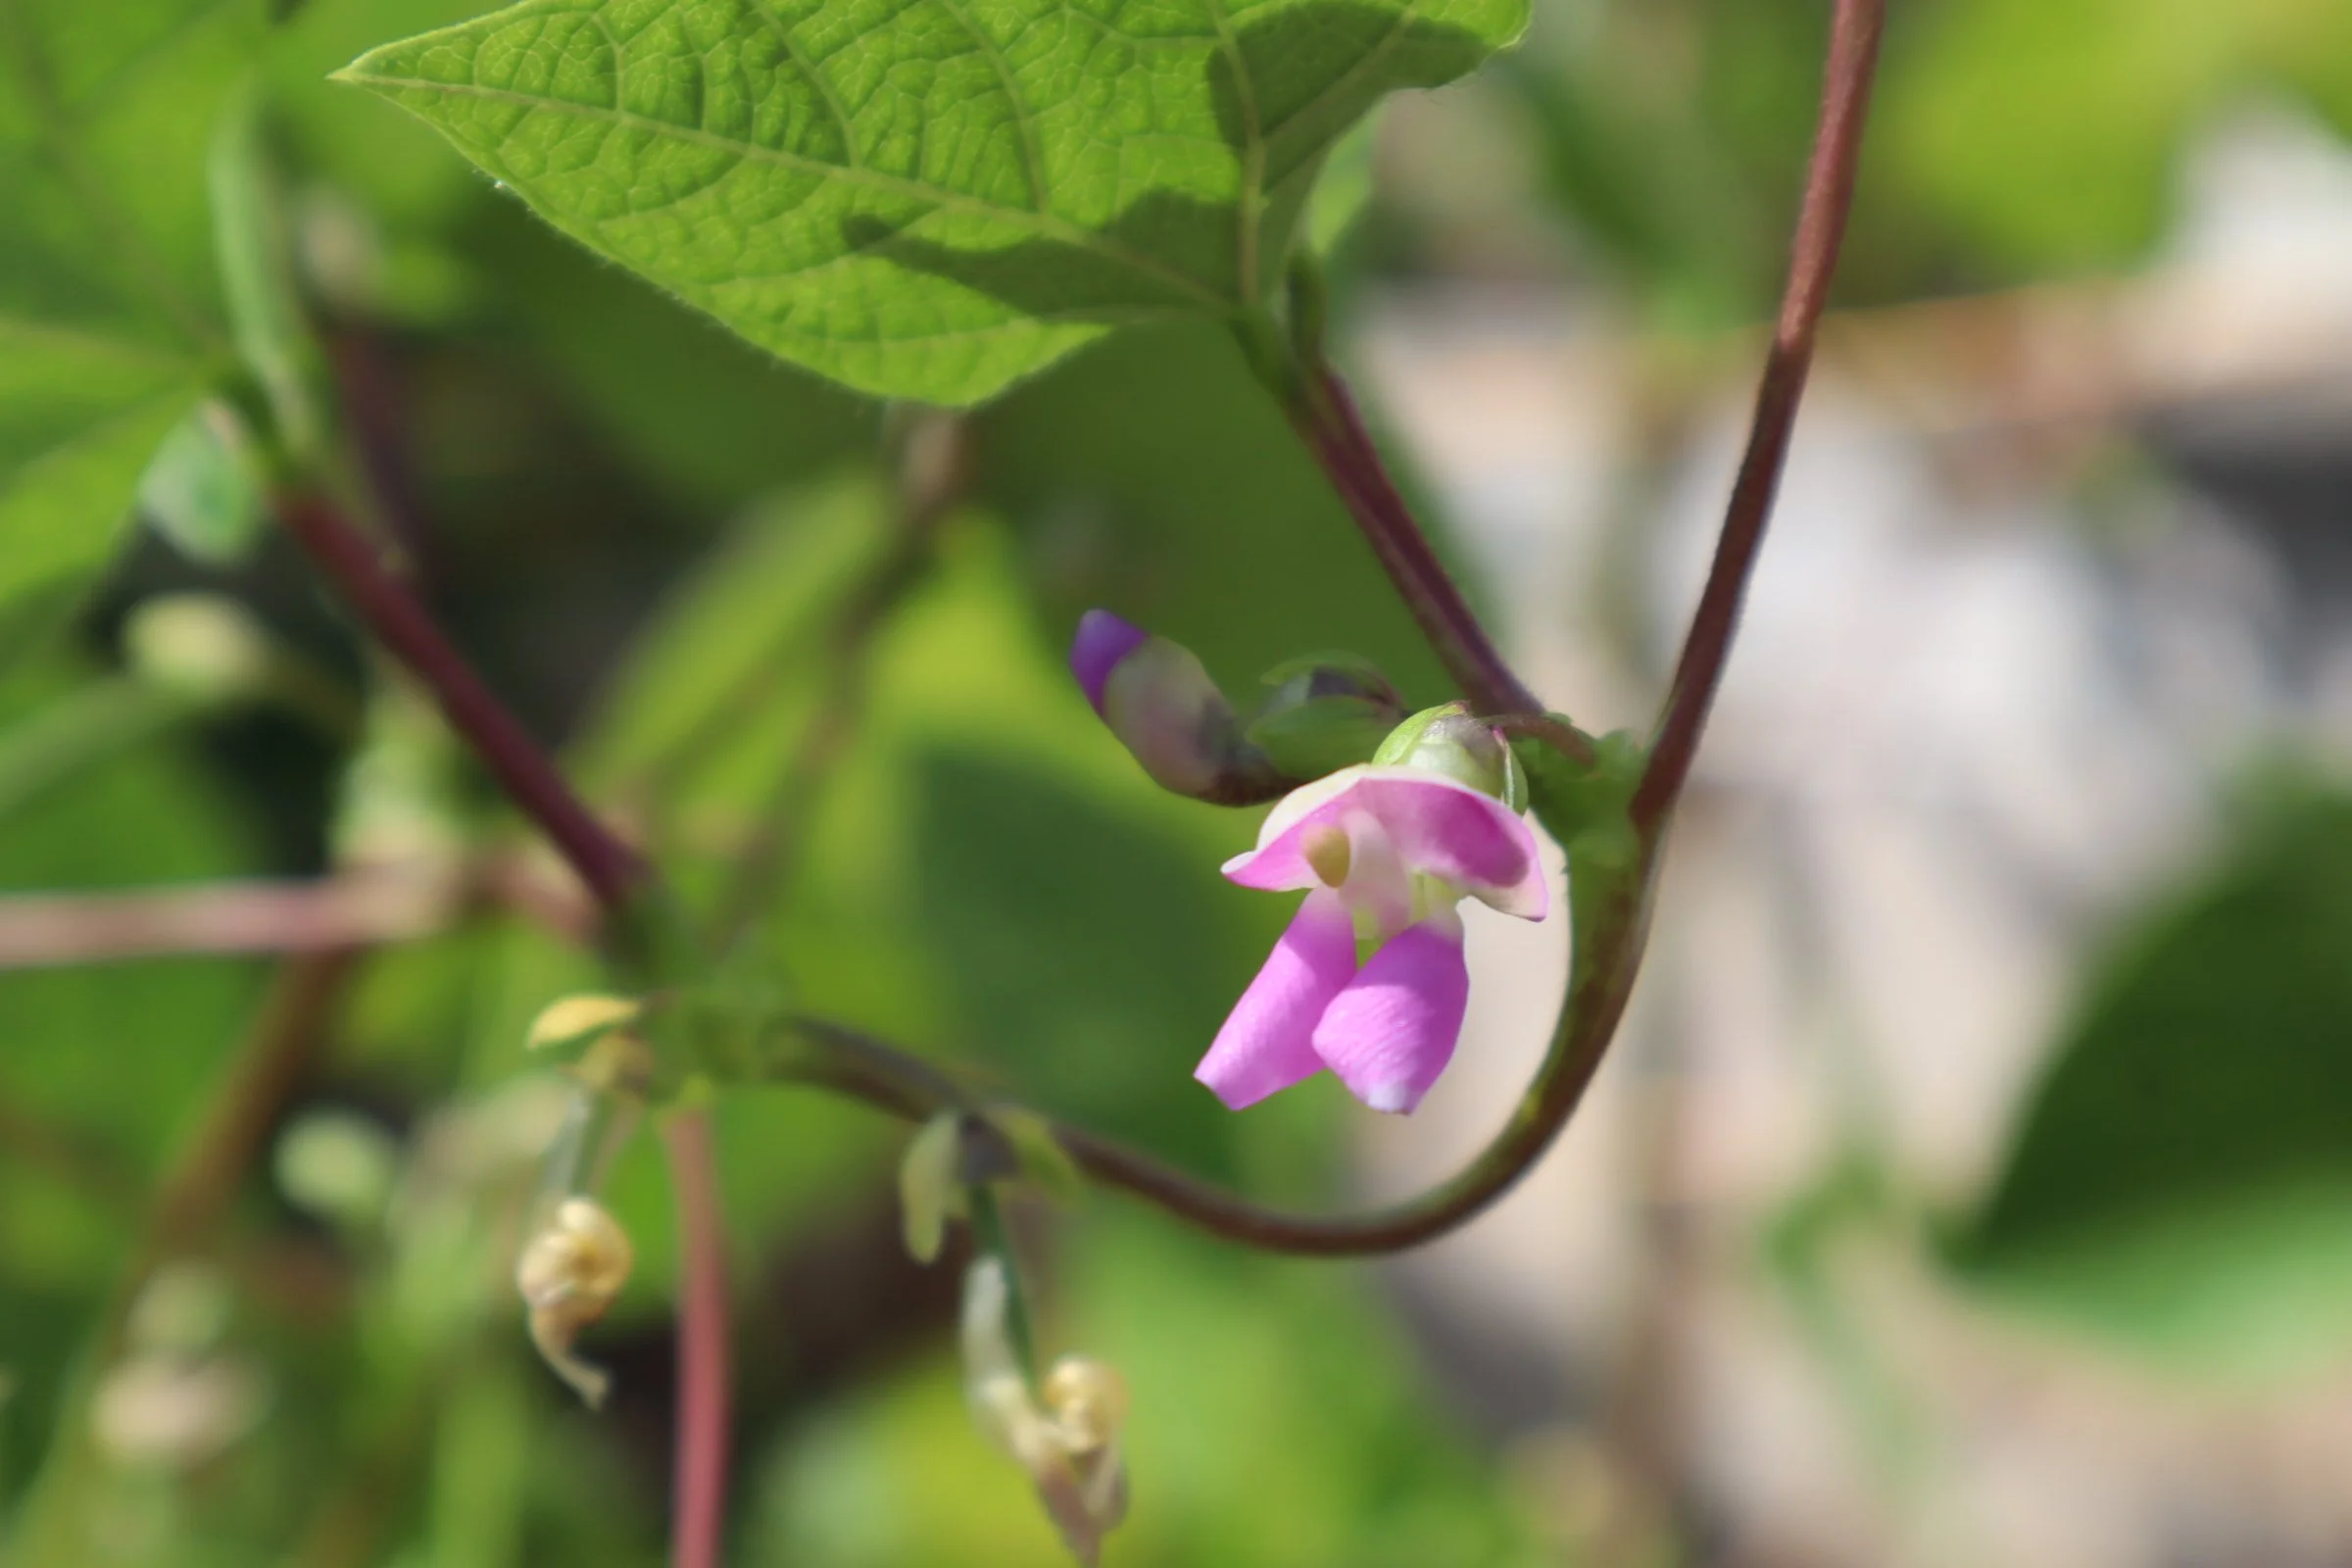
Black beans produce small, delicate flowers that are usually white, purple, or pink, depending on the variety. These flowers are self-pollinating, so you don’t need to worry about cross-pollination. Flowering typically begins 40–50 days after planting.
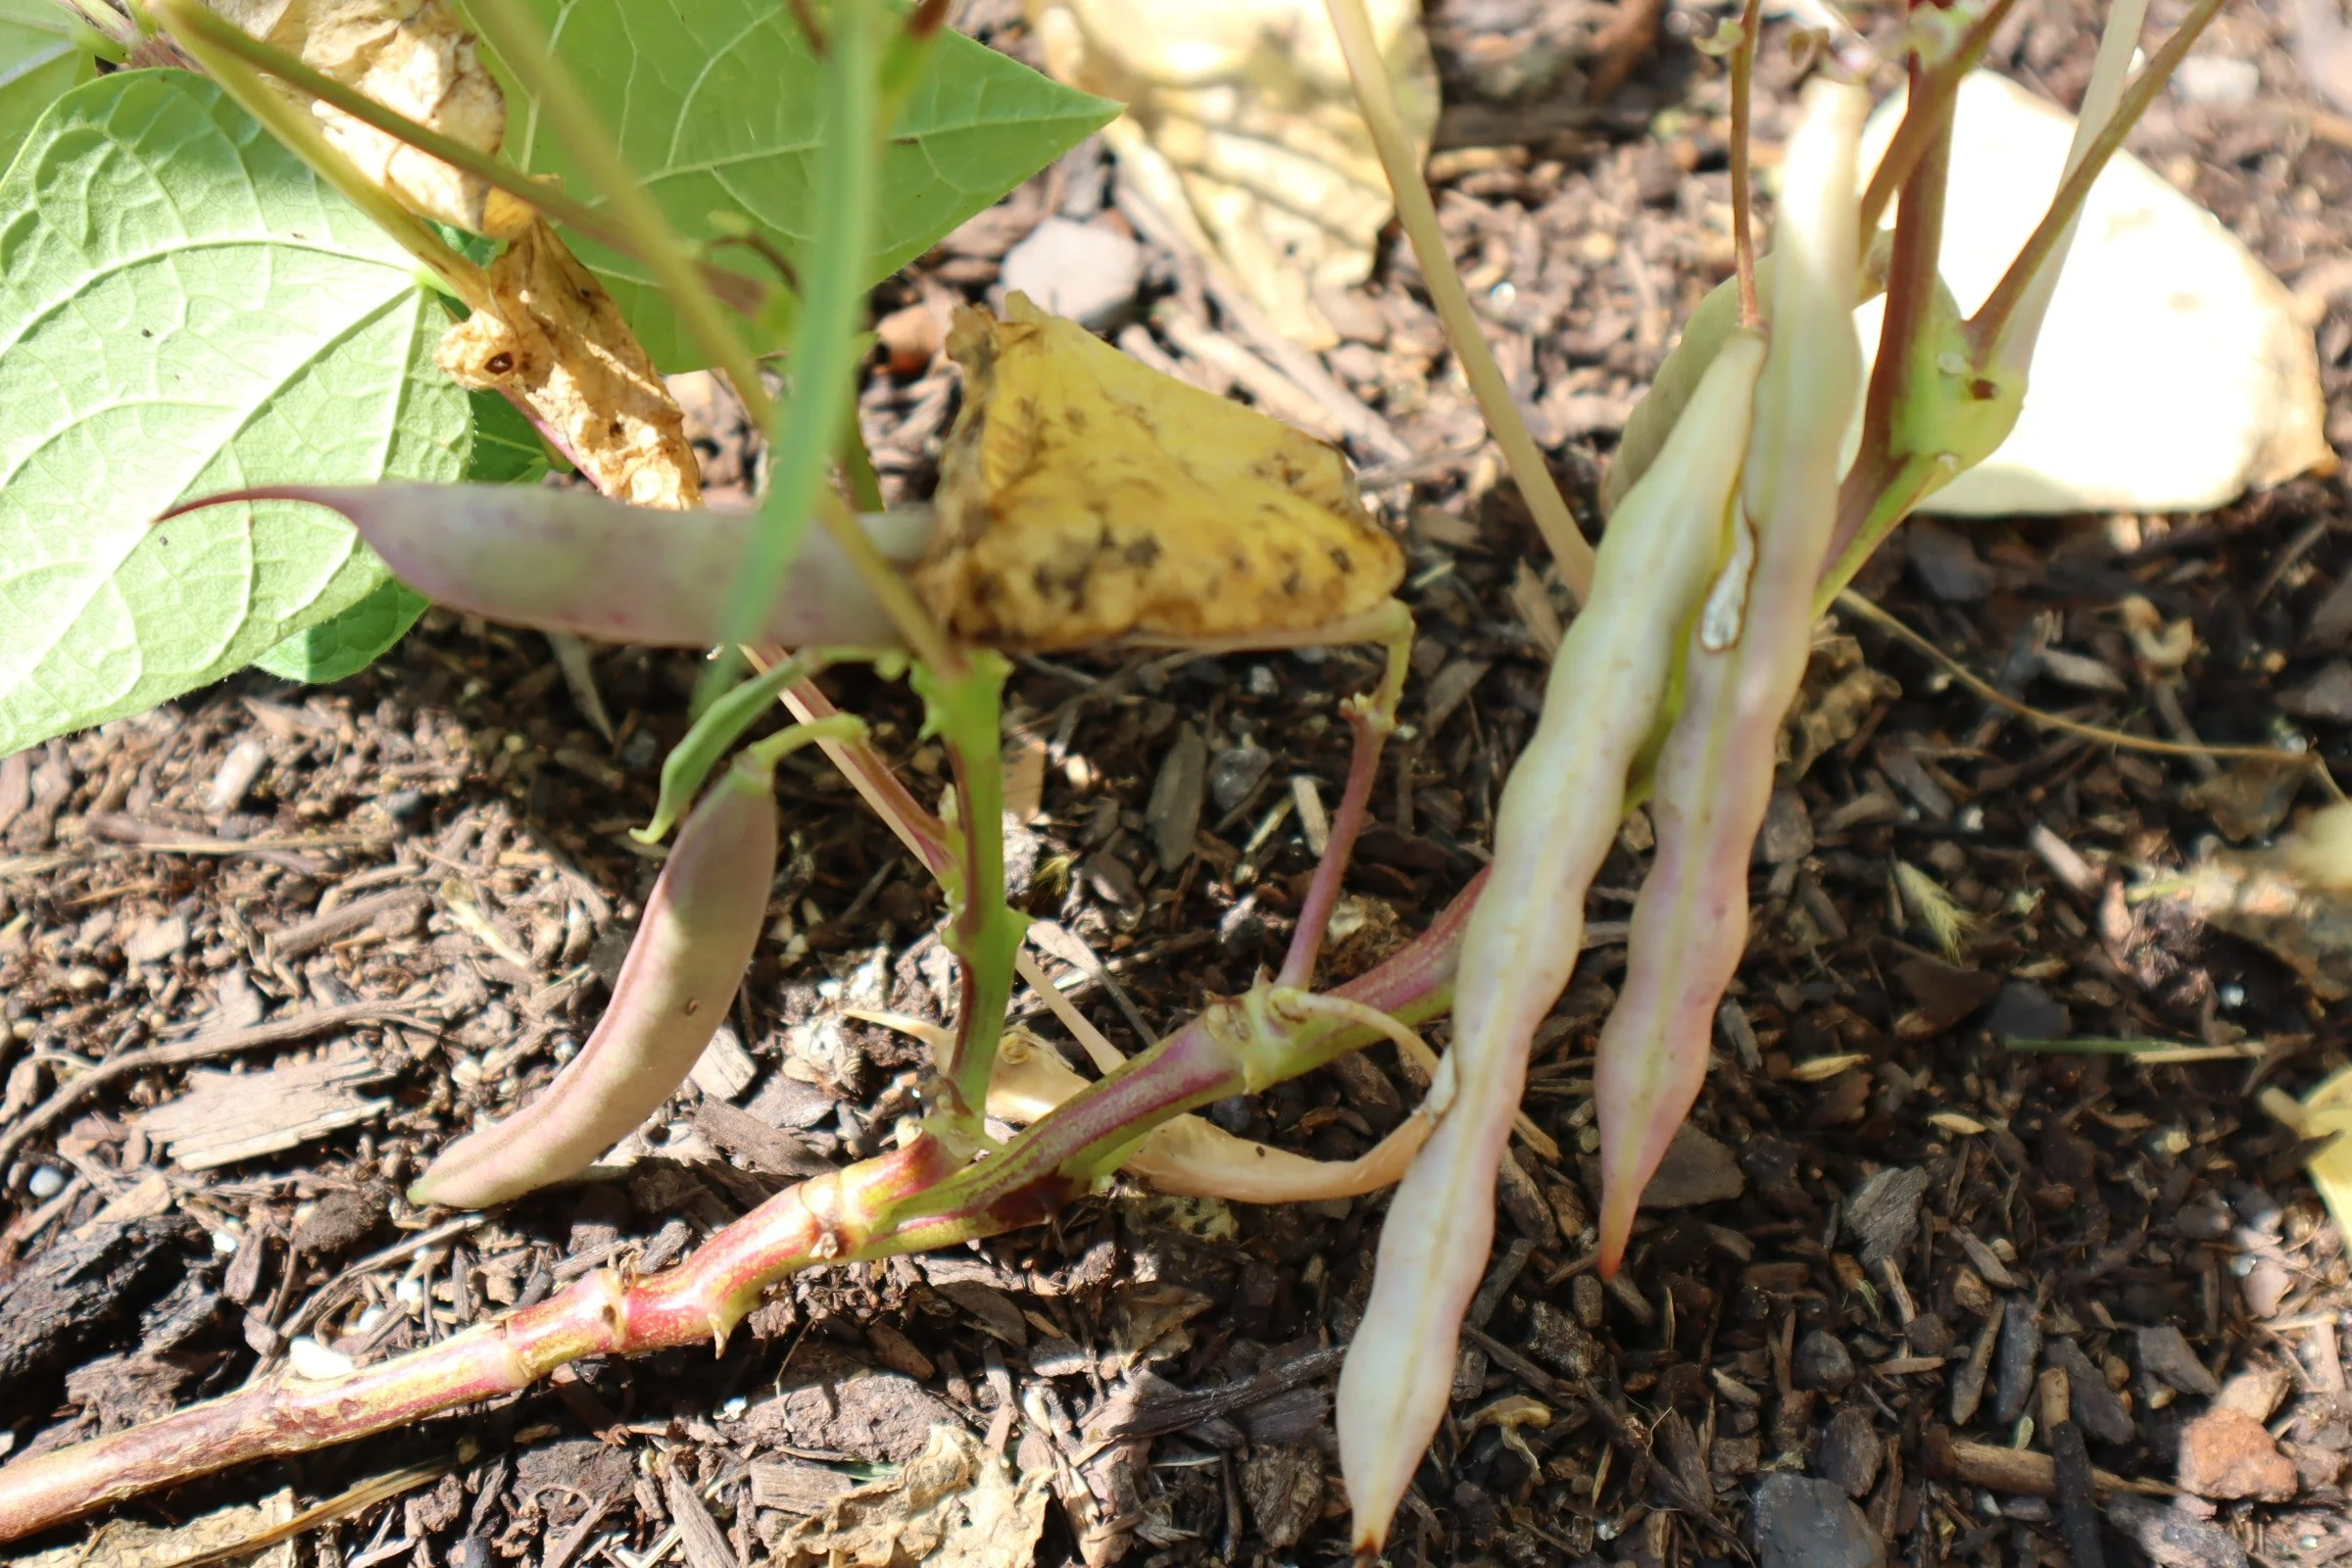
Pod Development
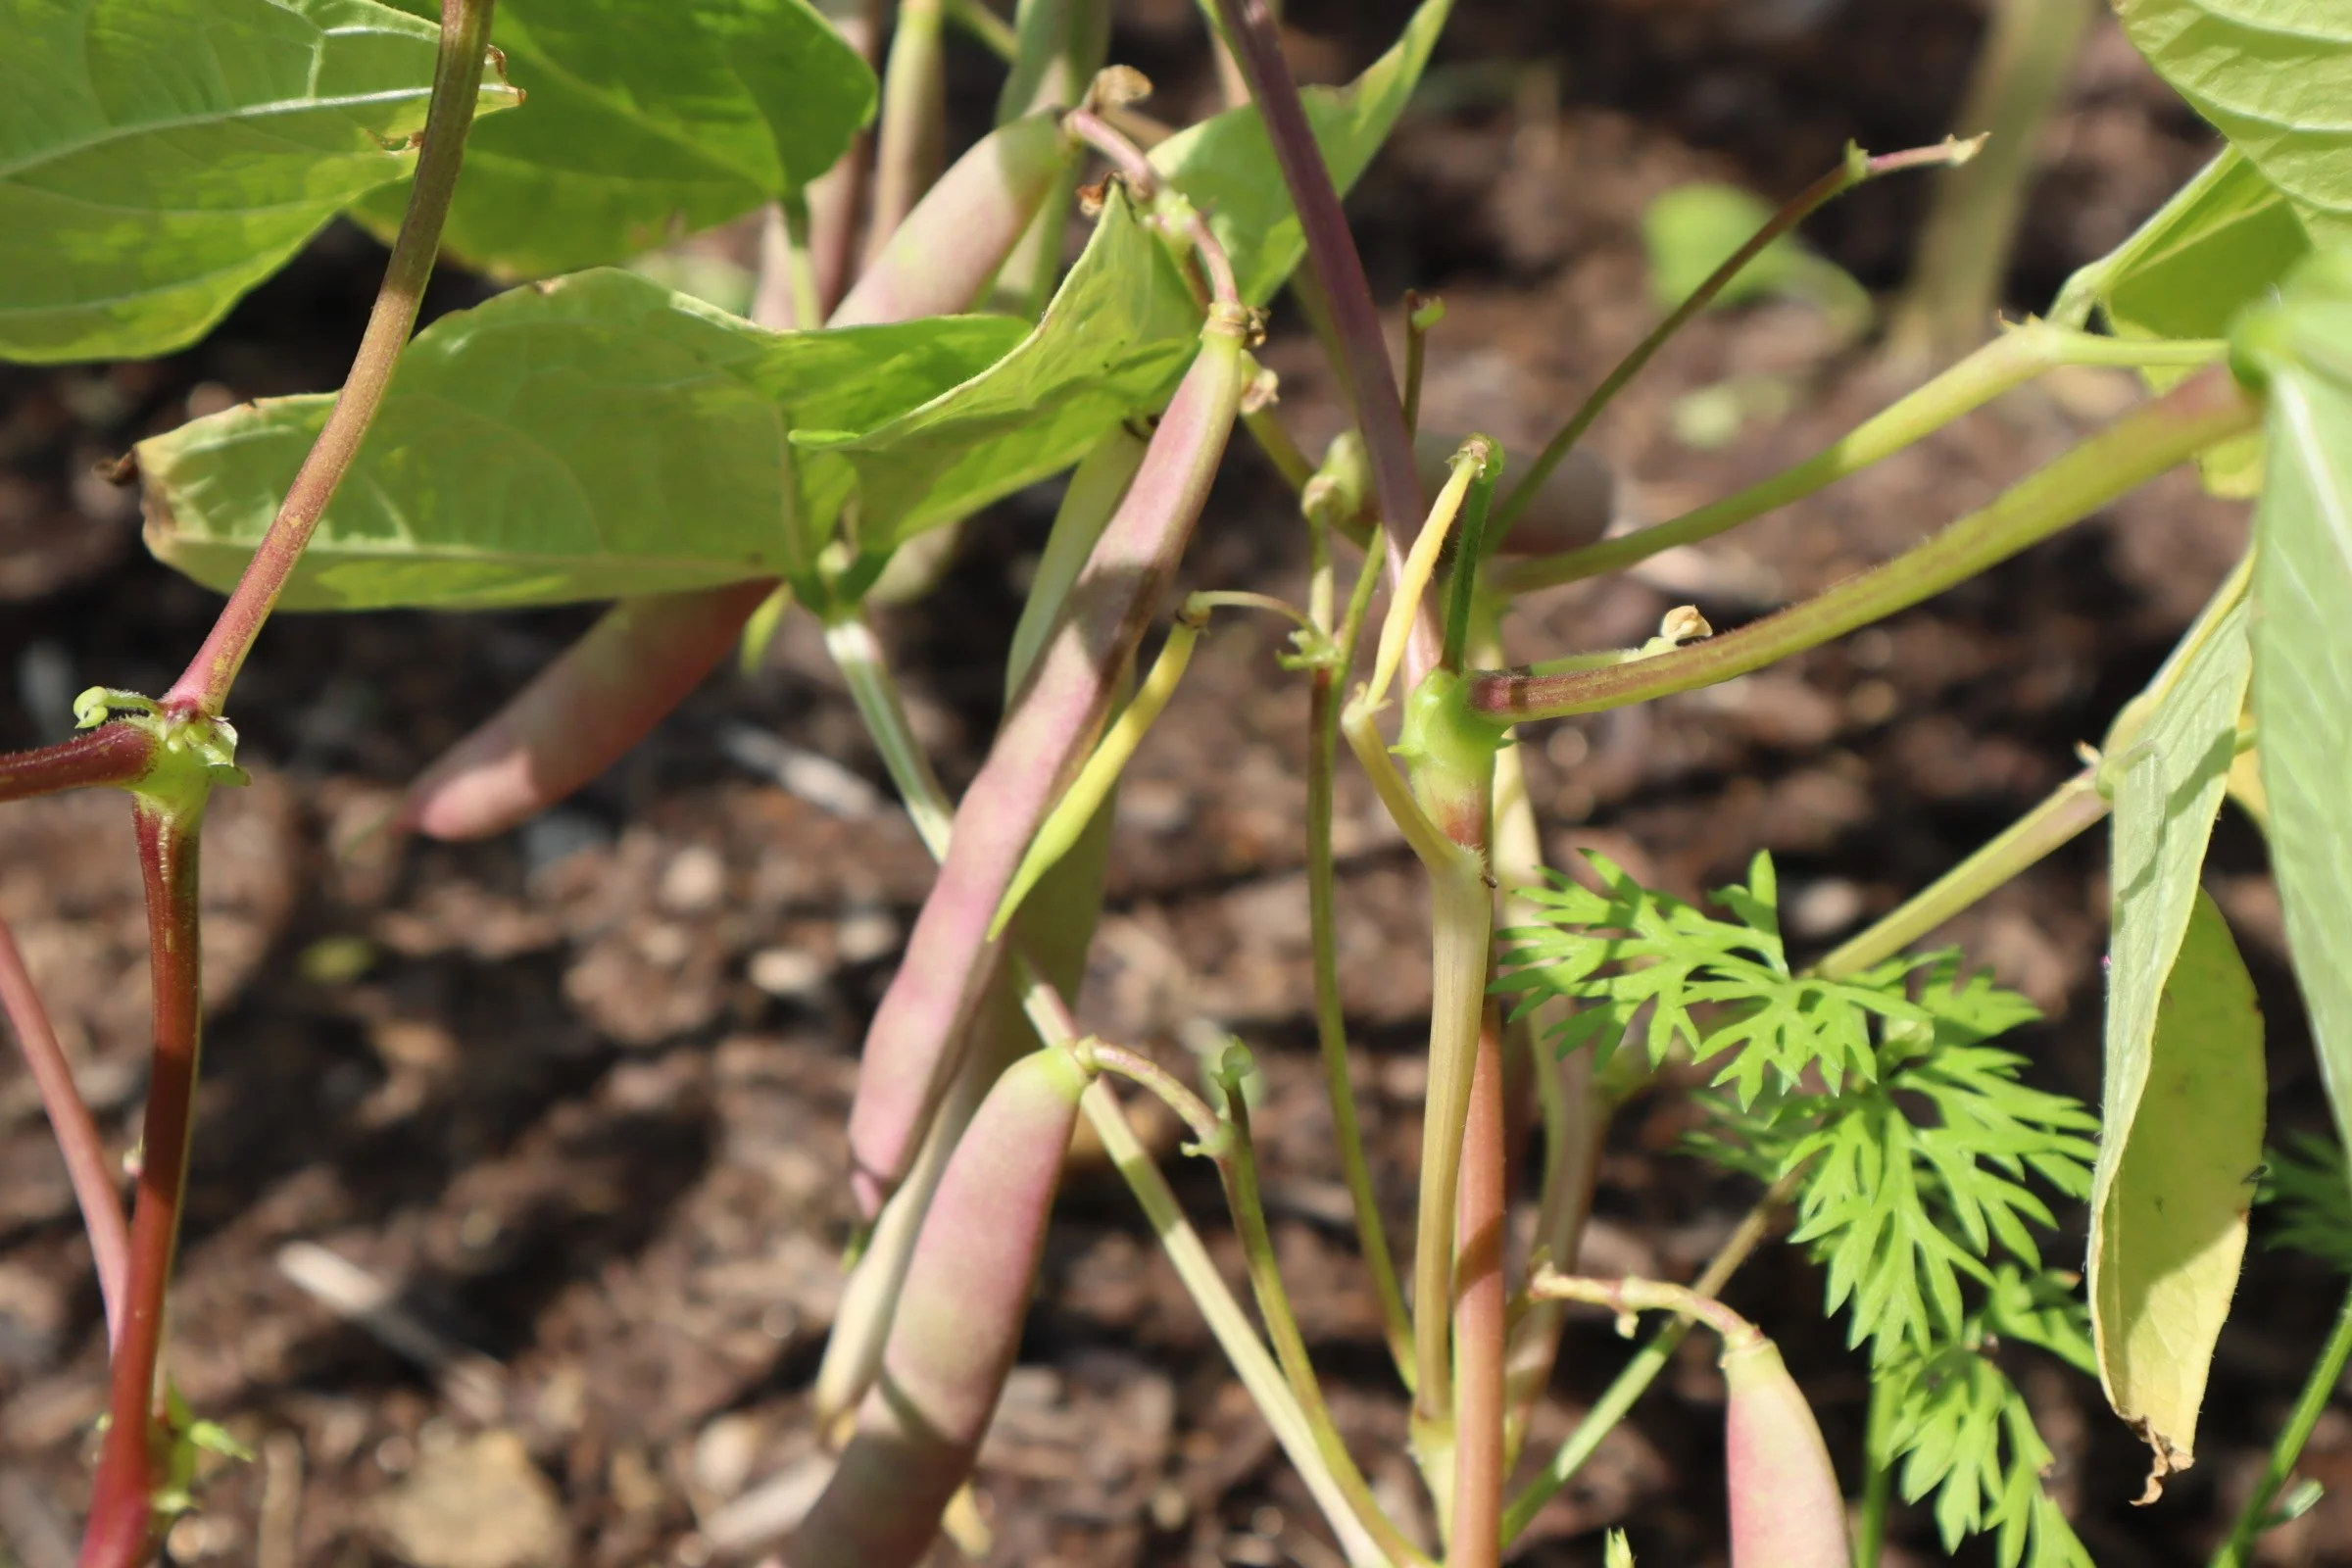
After pollination, pods start forming. Each pod contains multiple beans, which grow and mature over the following weeks. The pods will first appear green and tender. During this stage:
Continue regular watering.
Monitor for pests that may feed on developing pods.
Avoid disturbing the roots.
Black beans take about 90–120 days from planting to reach full maturity, depending on the variety and growing conditions.
When and How to Harvest
Harvesting black beans at the right time ensures optimal flavor and storage life. There are two primary stages for harvesting:
Fresh Beans (Edamame Stage)
If you want tender, fresh black beans for cooking, harvest when the pods are green and the beans inside are fully formed but not hardened. This is typically 70–90 days after planting.
Dry Beans
For storage, let the pods mature on the plant until they turn brown and the beans rattle inside. This usually occurs 90–120 days after planting. Once the pods are dry:
Pick the pods: Gently remove them from the plant.
Thresh the beans: Break the pods open to release the beans.
Clean and dry: Remove debris and let the beans air-dry completely for a few days in a well-ventilated area.
Store: Place fully dried beans in airtight containers in a cool, dark place. Properly stored, black beans can last up to a year.
Tips for Maximum Yield
Succession planting: Sow seeds every 2–3 weeks early in the season to extend harvest.
Rotate crops: Avoid planting beans in the same spot year after year to reduce disease pressure.
Companion planting: Beans grow well with corn, squash, and cucumbers, but avoid planting near onions and garlic, which can inhibit growth.
Common Challenges and Solutions
Poor germination: Ensure soil is warm enough and seeds are fresh. Pre-soaking can help.
Yellowing leaves: Often due to overwatering or nutrient deficiencies. Adjust watering and consider a soil test.
Low pod set: Could be caused by high nitrogen levels, heat stress, or poor pollination. Ensure proper fertilization and airflow.
Cooking and Enjoying Your Black Beans
Homegrown black beans are incredibly versatile. Once harvested, they can be:
Boiled and added to salads, soups, or stews.
Pureed for dips or spreads.
Roasted for a crunchy snack.
Stored dry for future use.
Cooking from scratch allows you to enjoy the rich flavor and creamy texture that canned beans often lack.
Final Thoughts
Growing black beans from start to finish is a satisfying project that combines beauty, nutrition, and sustainability. By following these steps—choosing the right variety, preparing the soil, planting carefully, providing consistent care, and harvesting at the right time—you’ll be rewarded with a bountiful harvest of glossy, protein-packed beans. Whether you’re planting a few rows in your backyard or filling a raised bed, black beans are a dependable and rewarding crop for any home gardener.
With patience, attention, and a little love, your black bean plants can provide a harvest that’s both practical and delicious, helping you enjoy the full cycle of growth—from seed to table.
By Leah Ann Grace