
Growing Sweet Potatoes: From Windowsill to Harvest
Sweet potatoes are one of those crops that feel extra special to grow at home. They’re beautiful plants, delicious to eat, and—surprisingly—quite easy once you understand their needs. Our sweet potato journey started with something simple: a glass of water on our windowsill.
I’ll be honest—when we first placed a sweet potato in a jar, we didn’t really know how magical the process would be. But watching it sprout leafy vines right in our kitchen felt like a tiny science experiment meets home décor project. Now, months later, those same slips are growing happily in a large 20-gallon grow bag, and we’re waiting for the big reveal: harvest time.
While we’re still anticipating our first homegrown sweet potato feast, I wanted to share our experience so far—plus tips, tricks, and a few different ways you can grow them yourself.
How We Started Our Sweet Potatoes
We kicked things off with a single sweet potato and a standard drinking glass. Here’s exactly how it went:
Choosing the potato: We picked a healthy-looking sweet potato from the store—firm, without blemishes or soft spots.
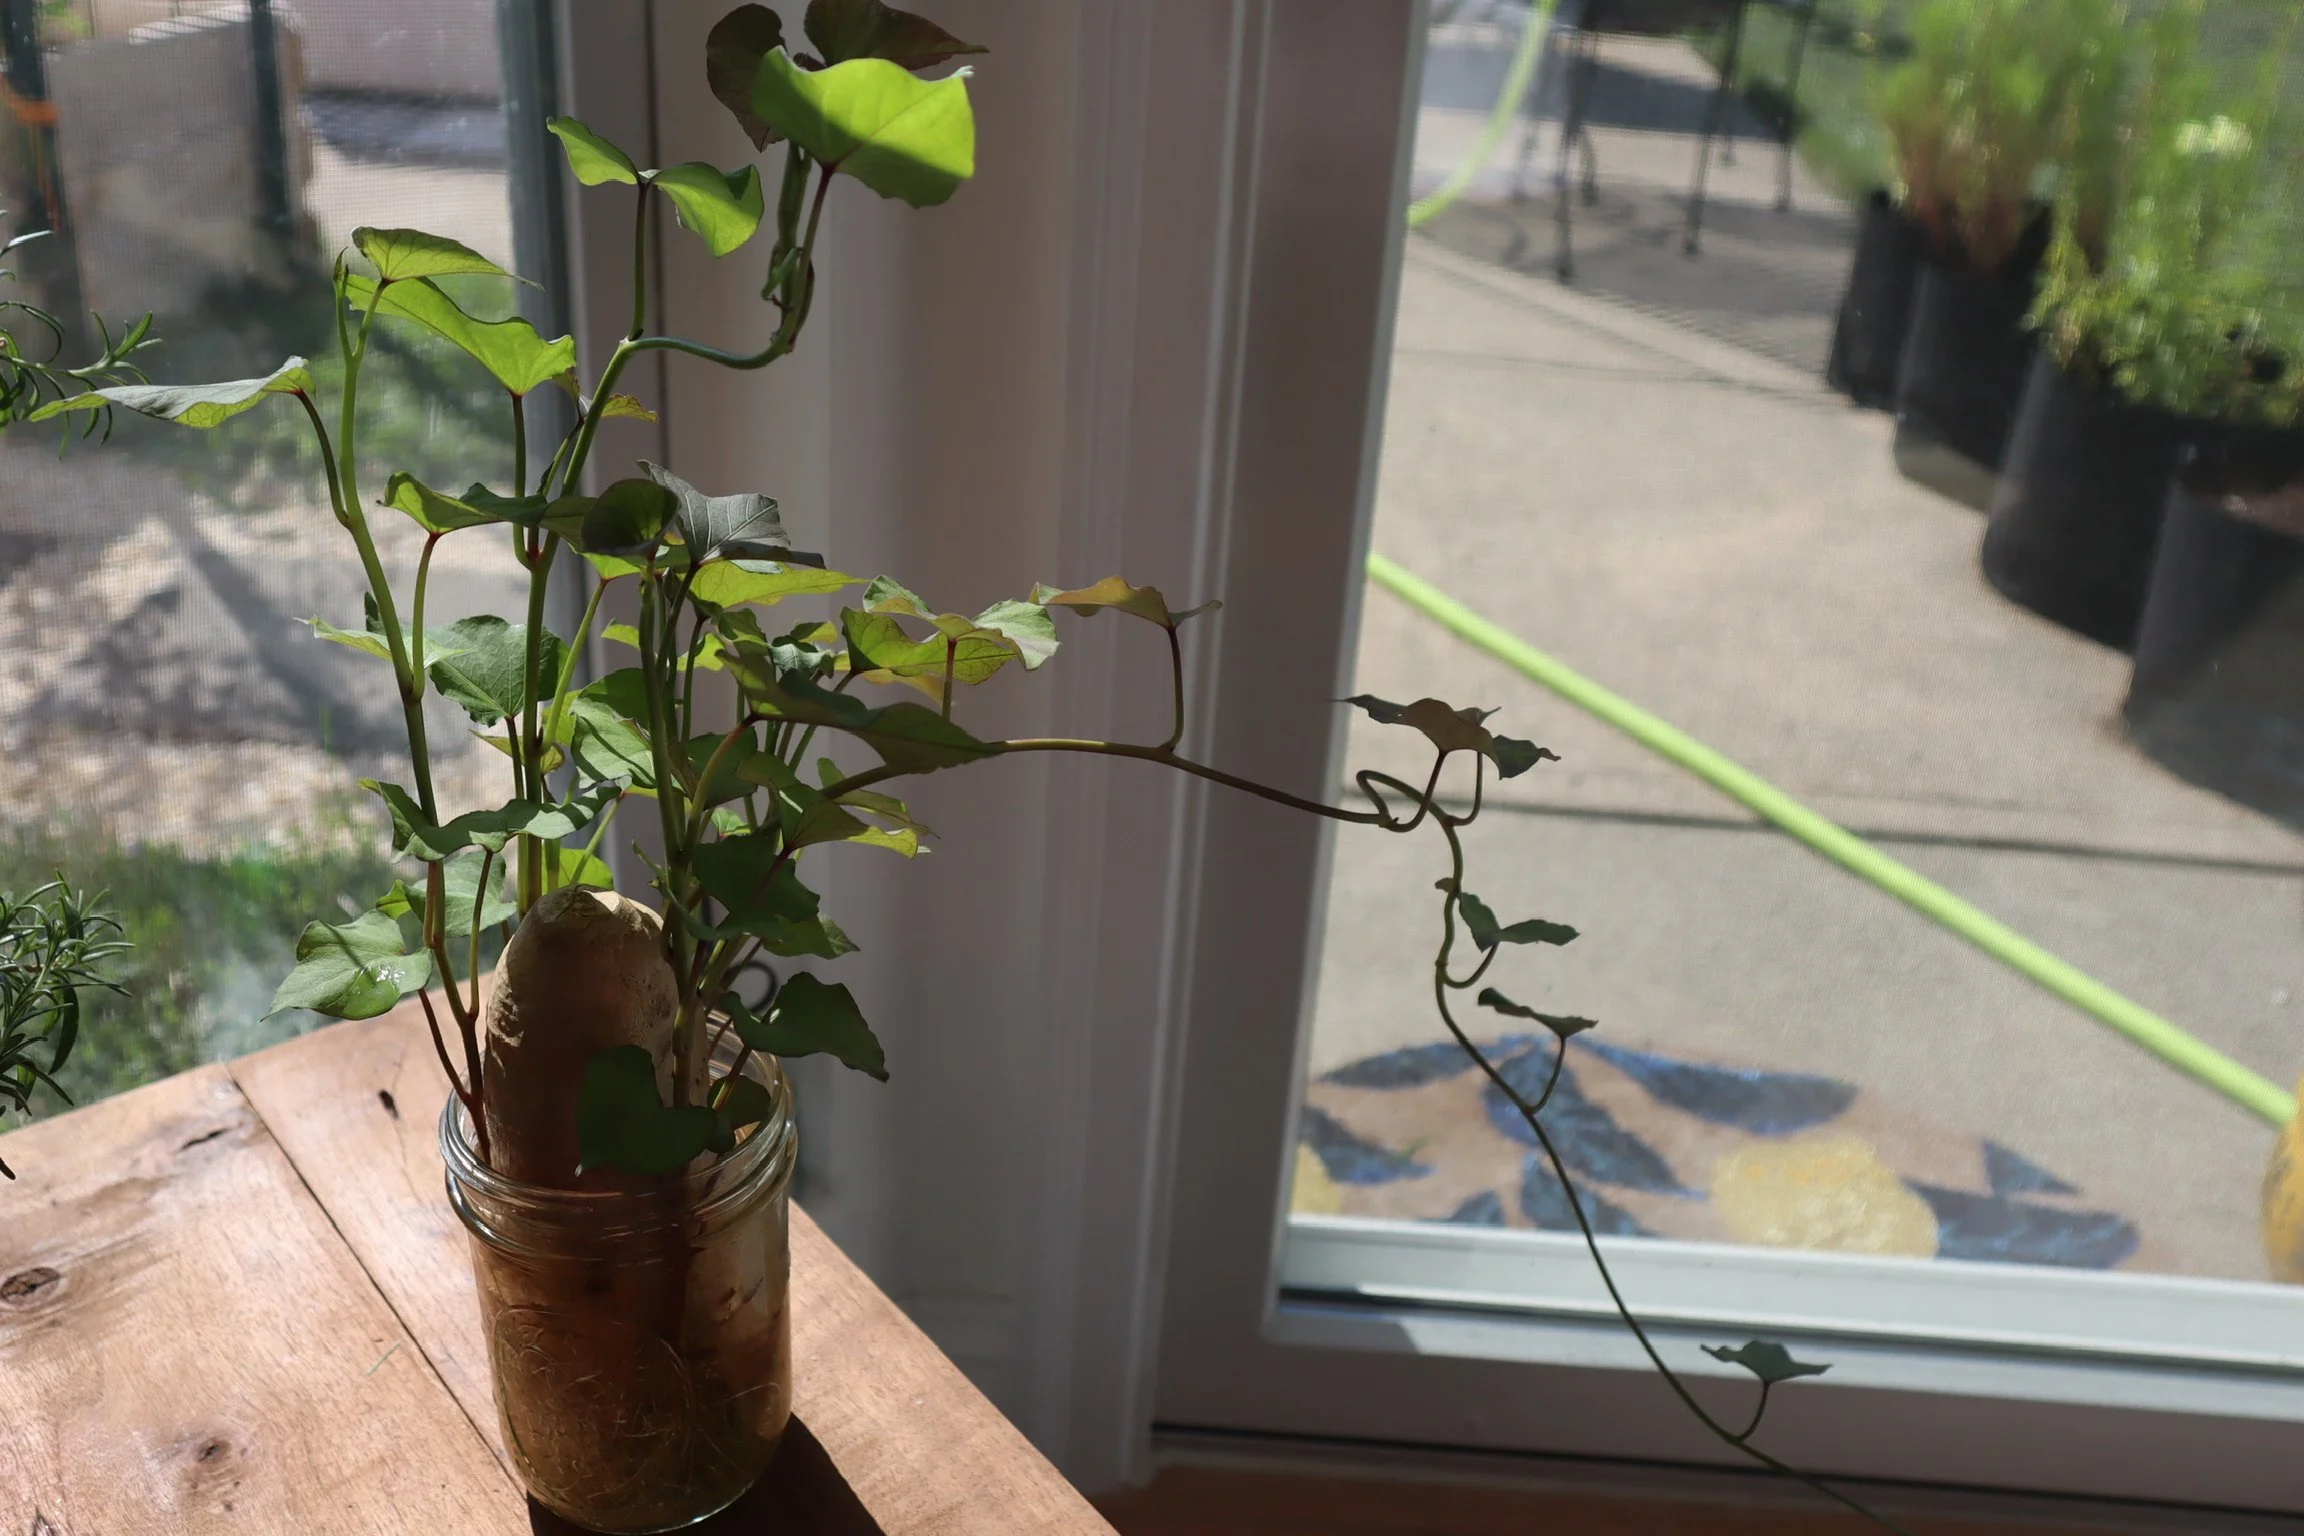
Water setup: We filled a glass halfway with water and stuck 3 toothpicks into the sweet potato so it could rest halfway submerged. The bottom end (pointier side) went into the water, while the top end stayed dry.
Windowsill placement: The jar went onto a sunny kitchen windowsill where we could keep an eye on it. Over the next few weeks, green shoots and roots began to appear.
Growing slips: Those shoots are called slips—baby sweet potato plants. Once they were a few inches long, we gently twisted them off the potato, placed them in a separate jar of water, and waited for roots to form.
This method felt a bit like magic—turning a single potato into multiple baby plants, all for free.
Planting in a Grow Bag
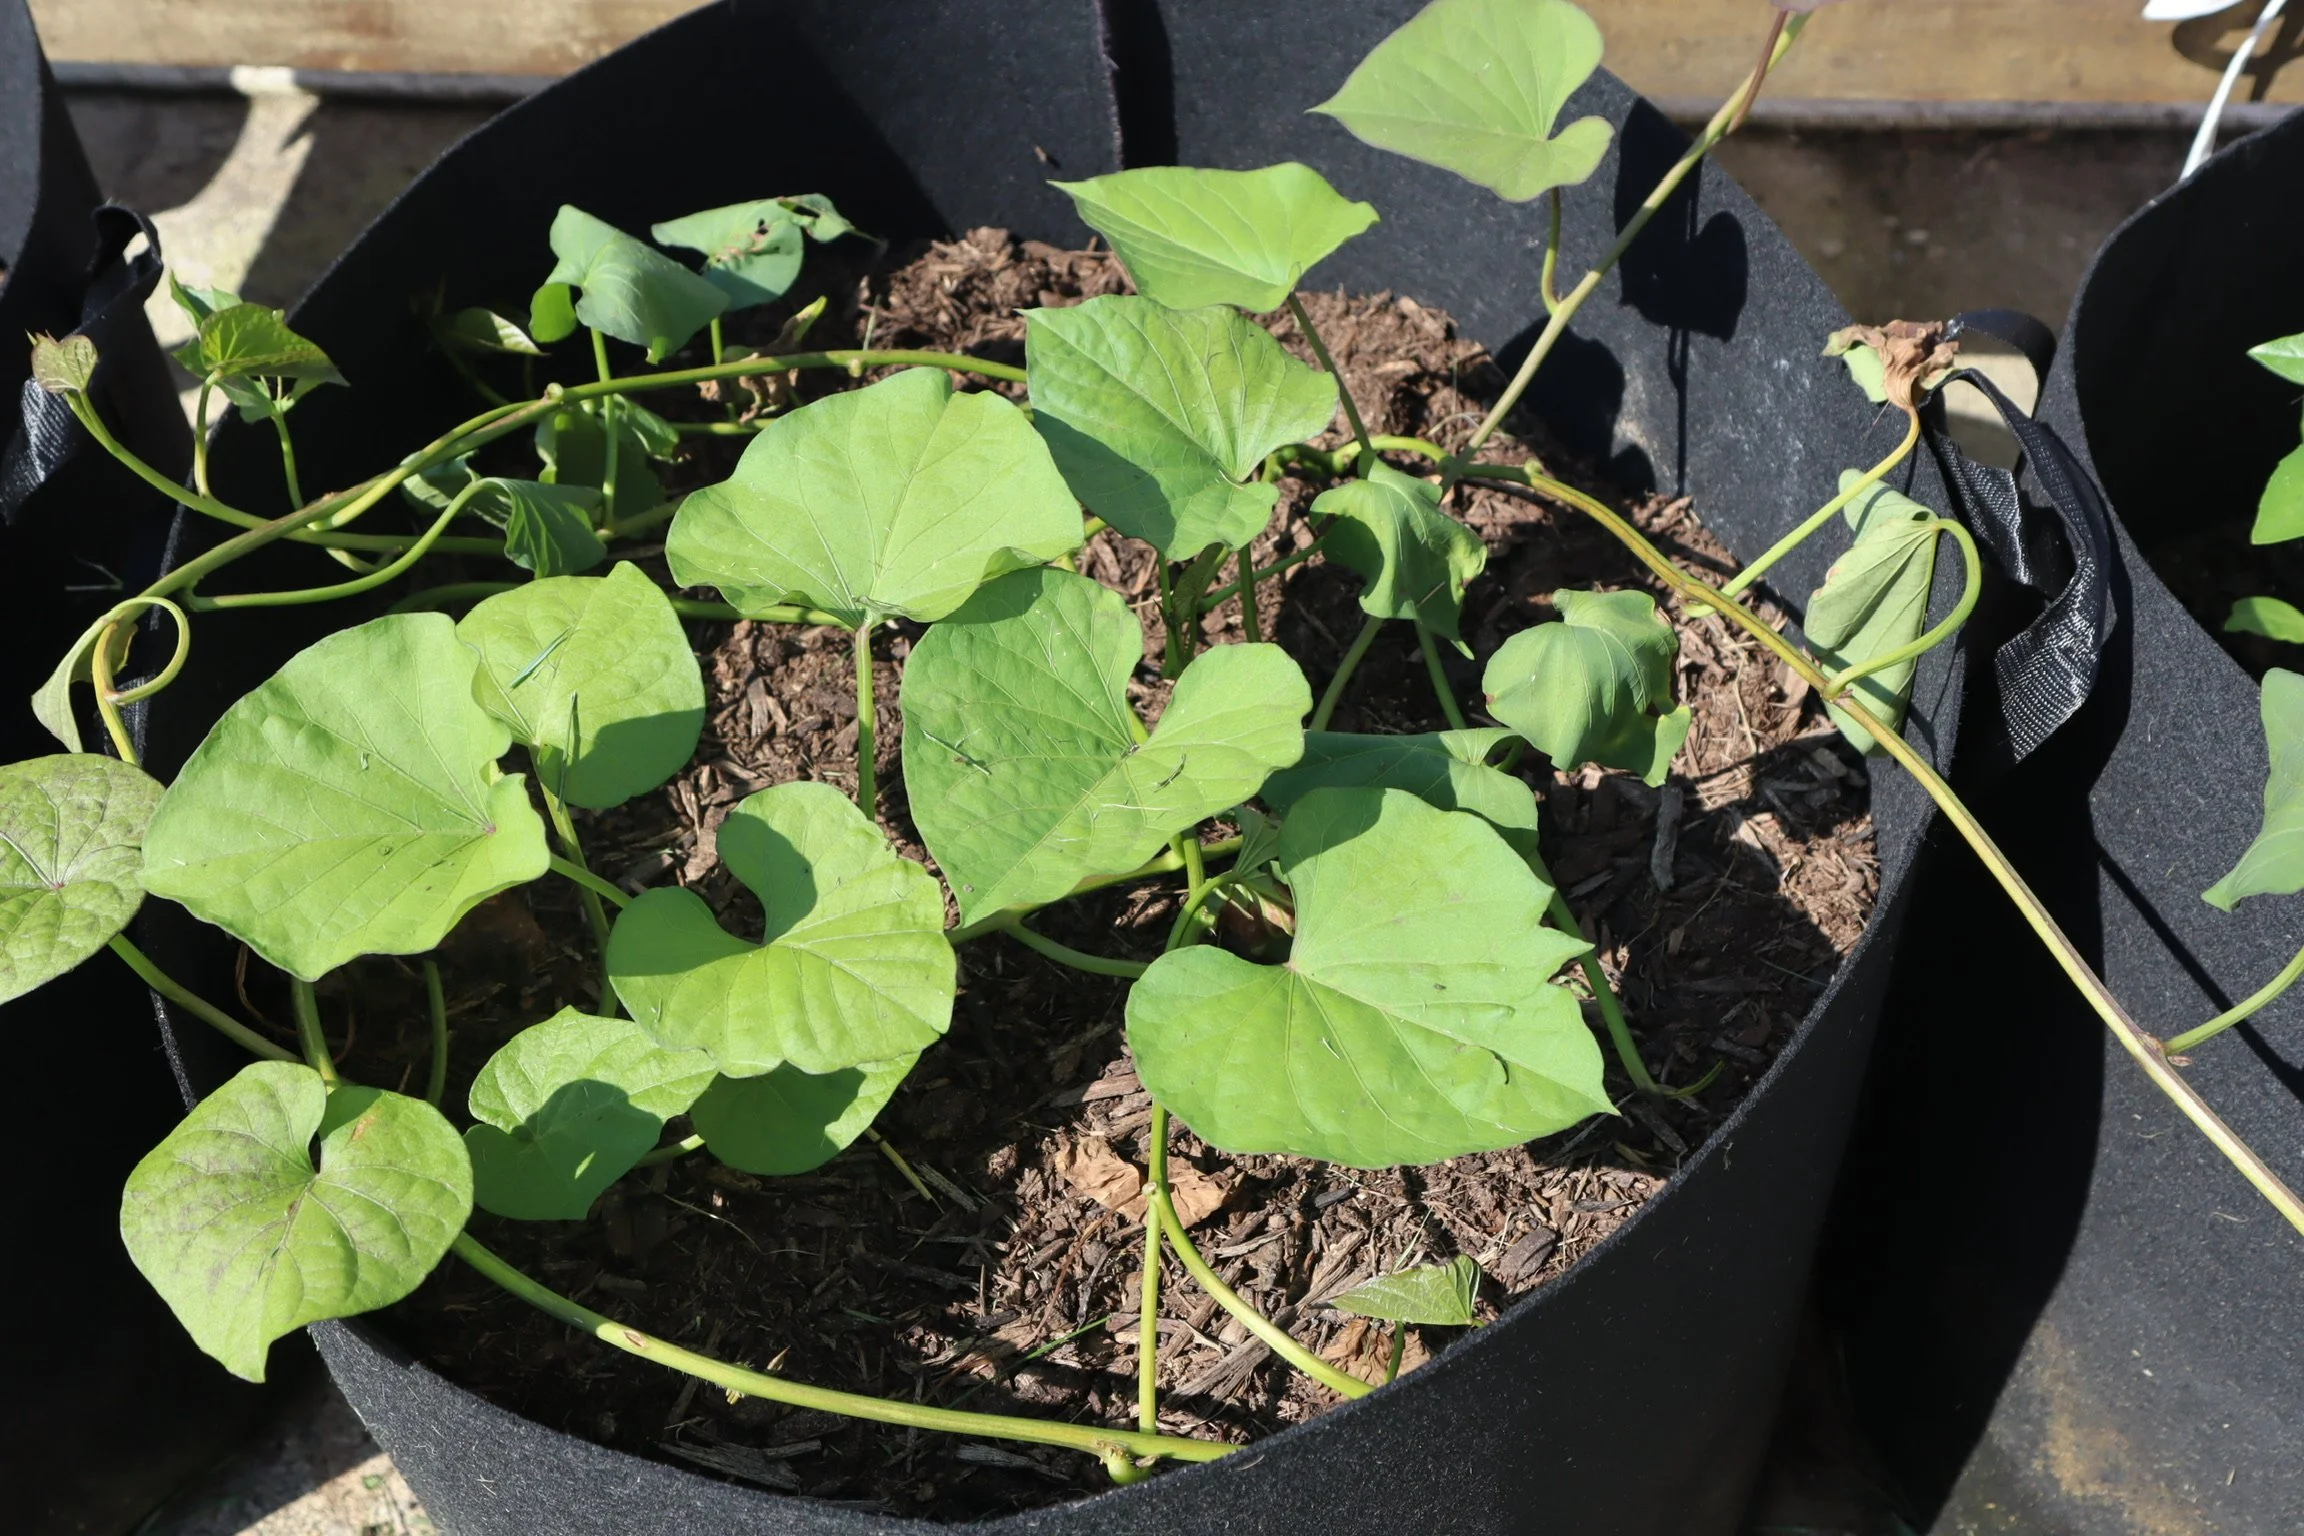
When the slips had a healthy set of roots, we transplanted them into our 20-gallon grow bag. Sweet potatoes need space for their roots to spread and form those fat, starchy tubers, so the bigger the container, the better. Here’s what we did:
Soil choice: We used a loose, well-draining mix—about half quality garden soil and half compost. Sweet potatoes don’t like heavy, compacted soil.
Planting depth: We planted the slips deep enough to bury the rooted end and some of the stem. This encourages more root growth.
Hilling method: As the vines grew, we added more soil to the grow bag, gently mounding it around the base until the soil was close to the top. This helps protect forming tubers from sunlight and encourages a bigger harvest.
Now, we water regularly (but not excessively—sweet potatoes don’t like soggy soil) and let the vines sprawl freely. The foliage has been thriving, and now it’s just a waiting game until harvest time.
When to Harvest
Sweet potatoes generally take about 90–120 days from planting slips to maturity, depending on the variety and growing conditions. You’ll know it’s time when:
The leaves start to yellow.
It’s been at least three months since planting.
The weather forecast threatens frost (sweet potatoes are sensitive to cold).
When harvest day comes, we’ll carefully dump the grow bag onto a tarp and sift through the soil for those buried treasures.
Tips and Tricks for Growing Sweet Potatoes
Even though our own harvest is still ahead, we’ve learned quite a few tips from researching and talking to other gardeners.
1. Choose the Right Variety
Not all sweet potatoes are the same. Some varieties are better for short growing seasons, while others produce bigger tubers or sweeter flesh. Popular options include:
Beauregard: Fast-growing and widely available.
Covington: Sweet and good for baking.
Jewel: Great all-purpose potato.
If you live in a cooler climate, look for short-season varieties.
2. Start Slips Early
If you live in an area with a shorter summer, start your slips indoors in late winter or early spring so they’re ready to plant after the last frost.
3. Warmth Is Key
Sweet potatoes love warmth—both in the air and in the soil. Wait to plant until nighttime temperatures stay above 55°F. If your soil is still cool, try black grow bags or dark mulch to help warm it faster.
4. Give Them Space
Even in a grow bag, sweet potatoes send vines everywhere. You can let them sprawl, train them onto a trellis, or gently redirect them to keep your space tidy.
5. Avoid Too Much Nitrogen
Over-fertilizing—especially with nitrogen—can lead to lots of lush leaves but fewer tubers. If you fertilize, choose a balanced or slightly phosphorus-heavy option.
6. Cure for Sweetness
After harvesting, sweet potatoes need to be cured—kept in a warm (80–85°F), humid space for 1–2 weeks. This process converts starches to sugars, making them taste sweeter and helping them store longer.
Other Ways to Grow Sweet Potatoes
Our 20-gallon grow bag method works wonderfully for limited space, but there are several other ways to grow sweet potatoes depending on your setup.
1. Raised Beds
Sweet potatoes thrive in raised beds where the soil is loose, deep, and well-draining. Plant slips about 12–18 inches apart in rows.
2. In-Ground Gardens
If you have good soil, in-ground planting is the most traditional method. Just be sure to loosen the soil at least 12 inches deep so the tubers can grow without restriction.
3. Vertical Towers
Some gardeners experiment with potato towers—stacked containers or wire cylinders filled with soil. This can be space-efficient, though sweet potatoes prefer to spread horizontally.
4. Indoor Starts for Continuous Harvests
In warm climates or with the right indoor setup, you can grow sweet potatoes year-round. Start slips indoors, plant them in containers, and rotate plantings for a steady supply.
Common Sweet Potato Problems and How to Solve Them
Even easygoing plants can run into trouble. Here’s what to watch out for:
Yellowing leaves early on: Could be overwatering or nutrient deficiency. Let the soil dry slightly and check fertilizer balance.
Small tubers: Usually caused by compacted soil, too little space, or not enough warmth.
Pests: Sweet potato weevils and wireworms can be an issue in some regions. Crop rotation and good soil prep help prevent them.
Sun-exposed tubers: If potatoes peek out of the soil, cover them with more dirt to avoid green spots and bitterness.
Why We Love Growing Sweet Potatoes
There’s something satisfying about growing a food you’ve only ever bought at the store. From watching the first slips curl toward the sunlight to tucking them into their new soil home, the process has felt hands-on and hopeful.
Our grow bag now sits like a little mystery—quiet on the outside, with who-knows-what happening underneath. That’s part of the fun: sweet potatoes keep their progress hidden until the very end.
When harvest time comes, we’ll get to tip the whole bag out like a gardener’s version of a treasure chest. And whether we find a modest handful or a huge pile, we’ll know we grew them from a simple potato in a jar on our windowsill.
Final Thoughts
If you’ve never grown sweet potatoes before, give it a try. You don’t need a big backyard or fancy equipment—just a potato, some water, and a bit of patience. Before you know it, you’ll have lush green vines and, eventually, a crop of sweet, homegrown potatoes to enjoy.
By Leah Ann Grace